
Wheaton Public Library - Google Slides
Introduction to Google Slides
Sample Class Presentation
Slide 1
Welcome to Wheaton Public Library
● Expanding on Excellence
Slide 2
Contact Us
● 225 N. Cross St., Wheaton, IL 60187
● 630-668-1374
● http://www.wheatonlibrary.org
Slide 3
Collections (2015-2016)
● Hardcover Books
○ 279,982
● Music CDs
○ 18,621
● DVDs & Blu-Rays
○ 17,749
Slide 4
History of the Library
● Established – 1891
● (Insert photo)
Slide 5
Onward and Upward
● Present location – 1965
● (Insert photo)
● Expansion – 1979
● (Insert photo)
Slide 6
The Wheaton Library in 2007
● (Insert photo)
● Reopened – 2/12/2007
● Dedication – 4/15/2007
Slide 7
Enjoy the Library!
● (Insert Image)
1
Wheaton Public Library - Google Slides
What is Google Drive?
Google Drive provides a location to store your files. It is not tied to any one device or machine.
Rather it is accessible from anywhere, including your home computer, mobile device, or a public
machine at a school or library. This type of storage is also called Cloud Storage.
Features of Google Drive
● 15 gigabytes of free storage. Additional storage is available for a fee.
● Upload and/or Download capabilities
● Free desktop publishing software that is available through your Google Drive account.
○ Google Docs ~ Microsoft Word
○ Google Sheets ~ Microsoft Excel
○ Google Slides ~ Microsoft PowerPoint
● File sharing - allows other Drive users to view and/or edit files, simultaneously if need be.
How Do I Access Google Drive?
● If you have a Gmail account, first go to Google.com, click the Gmail link on the top, right corner of the
page, and then log-in with your username and password.
● Click the Waffle icon on the top right corner of the page
● Click the Drive icon
Can I Use Google Drive without a Gmail Account?
● You can associate any email address with a Google account
● Go to https://accounts.google.com/signupwithoutgmail
● Fill out the form using your preferred address (yahoo, comcast, etc.)
● Enter the rest of the form information as requested
● Agree to Google’s terms
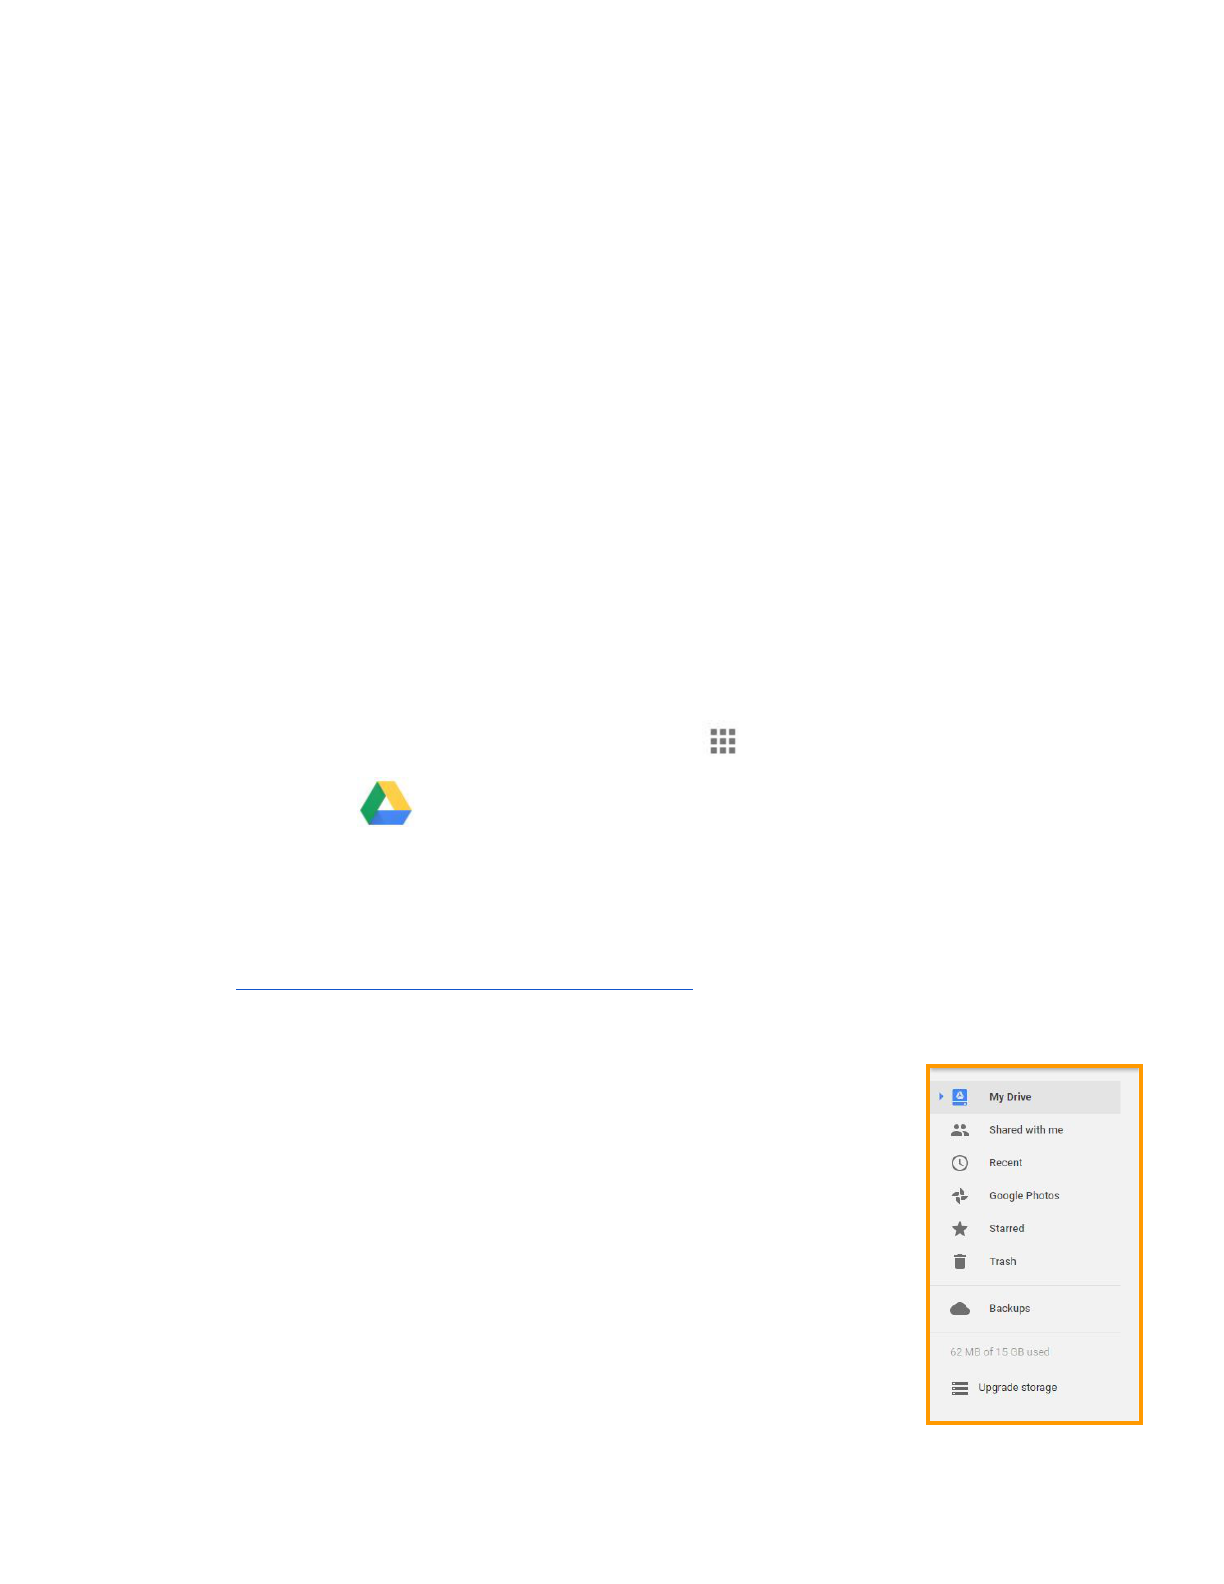
Screen Layout - Left Menu
● My Drive - displays the contents of your Google Drive, anything that you have
created or uploaded
● Shared with me - Files that you did not personally create, but that you have
access to, are stored here. Drive users can share files, giving access to
documents, spreadsheets, photos, PDFs, etc. without sending them as an
attachment.
● Recent - this varies with frequency of use, but files that you have accessed
within the last day, week, or month will show up in this folder.
● Starred - similar to flagging an item, or adding it to Favorites, clicking the star
makes it easier to find a file later.
2
Wheaton Public Library - Google Slides
● Trash - move files you no longer need to the trash. Remember to empty the trash to completely
delete the file.
Saving, Renaming and Making a Copy
● Saving
○ When you create a new file, the file is automatically saved in Google Drive, as soon as you
type your first character. There is no need to save your files.
○ Every change you make is saved automatically. If you need to double check, look next to the
menus (File, Edit, etc.). You’ll see
Saving
, followed by
All Changes Saved in Drive
● Renaming
○ A file created in Google Slides is given the name Untitled presentation. You should rename
your file for easier access later.
○ Click directly on
Untitled presentation
, found in the top
left corner. Type a more suitable name. You may use capital letters, small letters, and
punctuation.
○ This feature can also be found in File → Rename
● Make a Copy
○ If you are editing a previously created document, and you wish to save the original, the first
thing you should do is go to File → Make a Copy. This allows you a create a second file with a
different name, or
○ Leave the file name the same, but save it to a different folder.
○ This feature is similar to
Save As
in MIcrosoft Office.
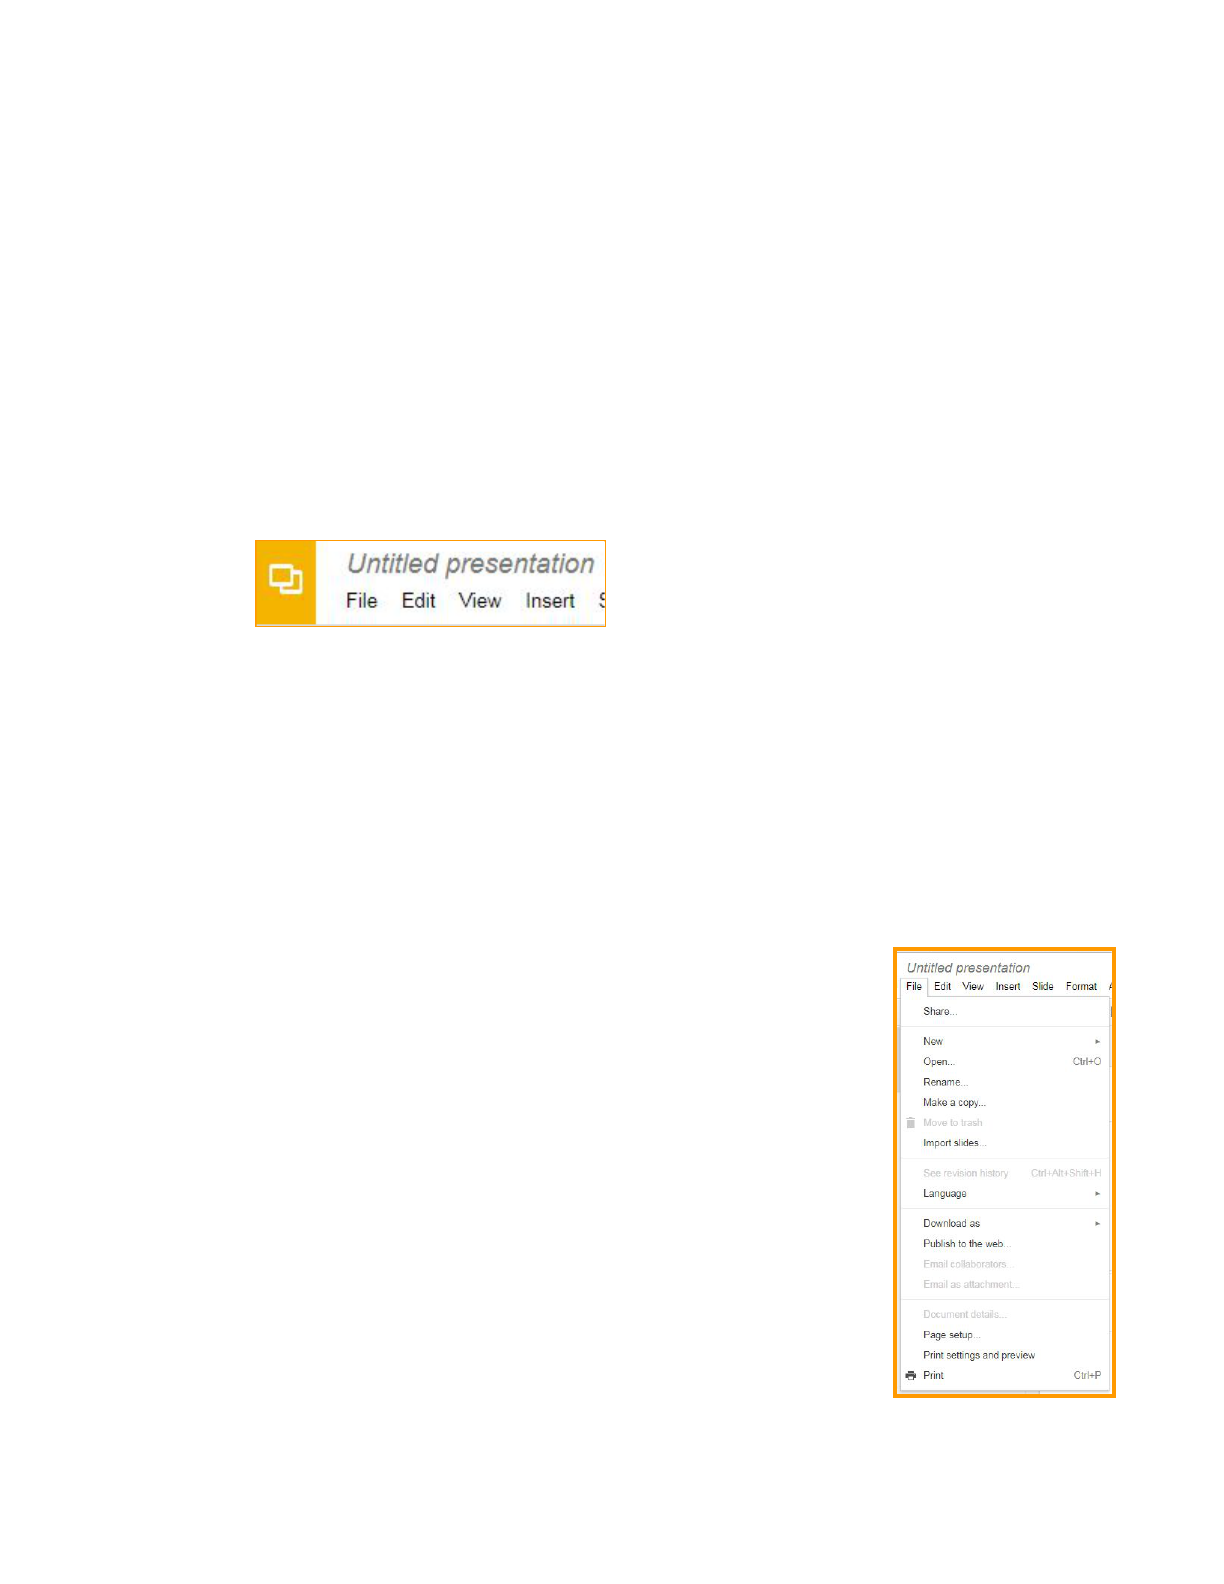
The File Menu - Managing Your Files
● Share - Allow other Google Drive users to view or make changes to your
file (see Page 3).
● New - Create a New file (choose between Document, Spreadsheet or
Presentation)
● Open - Opens a file created previously
● Rename - Change the name of the existing file. You can also click on the
file name found on the top, left of the page.
● Make a Copy - Creates an additional copy of the file. Remember, if you’re
updating a file, but need to keep the original, you should do this step
before you start editing.
● Move to - Moves the document to a different folder in your hierarchy.
● Move to Trash - moves to the Trash folder. You’ll need to empty the Trash
to really delete it.
● Import Slides - use slides from previously created presentations
● See Revision History - Google Slides creates Save points for all files. You
can revisit your changes, and roll back your document. This is particularly
useful in collaborative environments.
3
Wheaton Public Library - Google Slides
● Download As - If you need to save the file as another format, such as PowerPoint (.pptx), or PDF.
○ When you download, the file is stored on the Hard Drive of your PC.
○ To store the new file on Google Drive, you must return to the main screen of Google Drive,
then click New → Upload File.
● Email Collaborators - If the file is shared, use this link to contact anyone who has permission to view
the file
● Email as Attachment - when the file is sent as an attachment, it will be converted to PDF, an Office
extension (.pptx), or plain text.
● Page Setup - select between standard (4:3) and widescreen dimensions (16:9)
● Print Settings and preview
○ Select the way the presentation prints (1 slide per page, 3 slides per page, etc.)
○ Hide the background
○ Find the present button in the top right corner, then select Presenter
View. From Presenter View, you can see your speaker notes while the presentation is running.
● Print - send to a local or network printer.
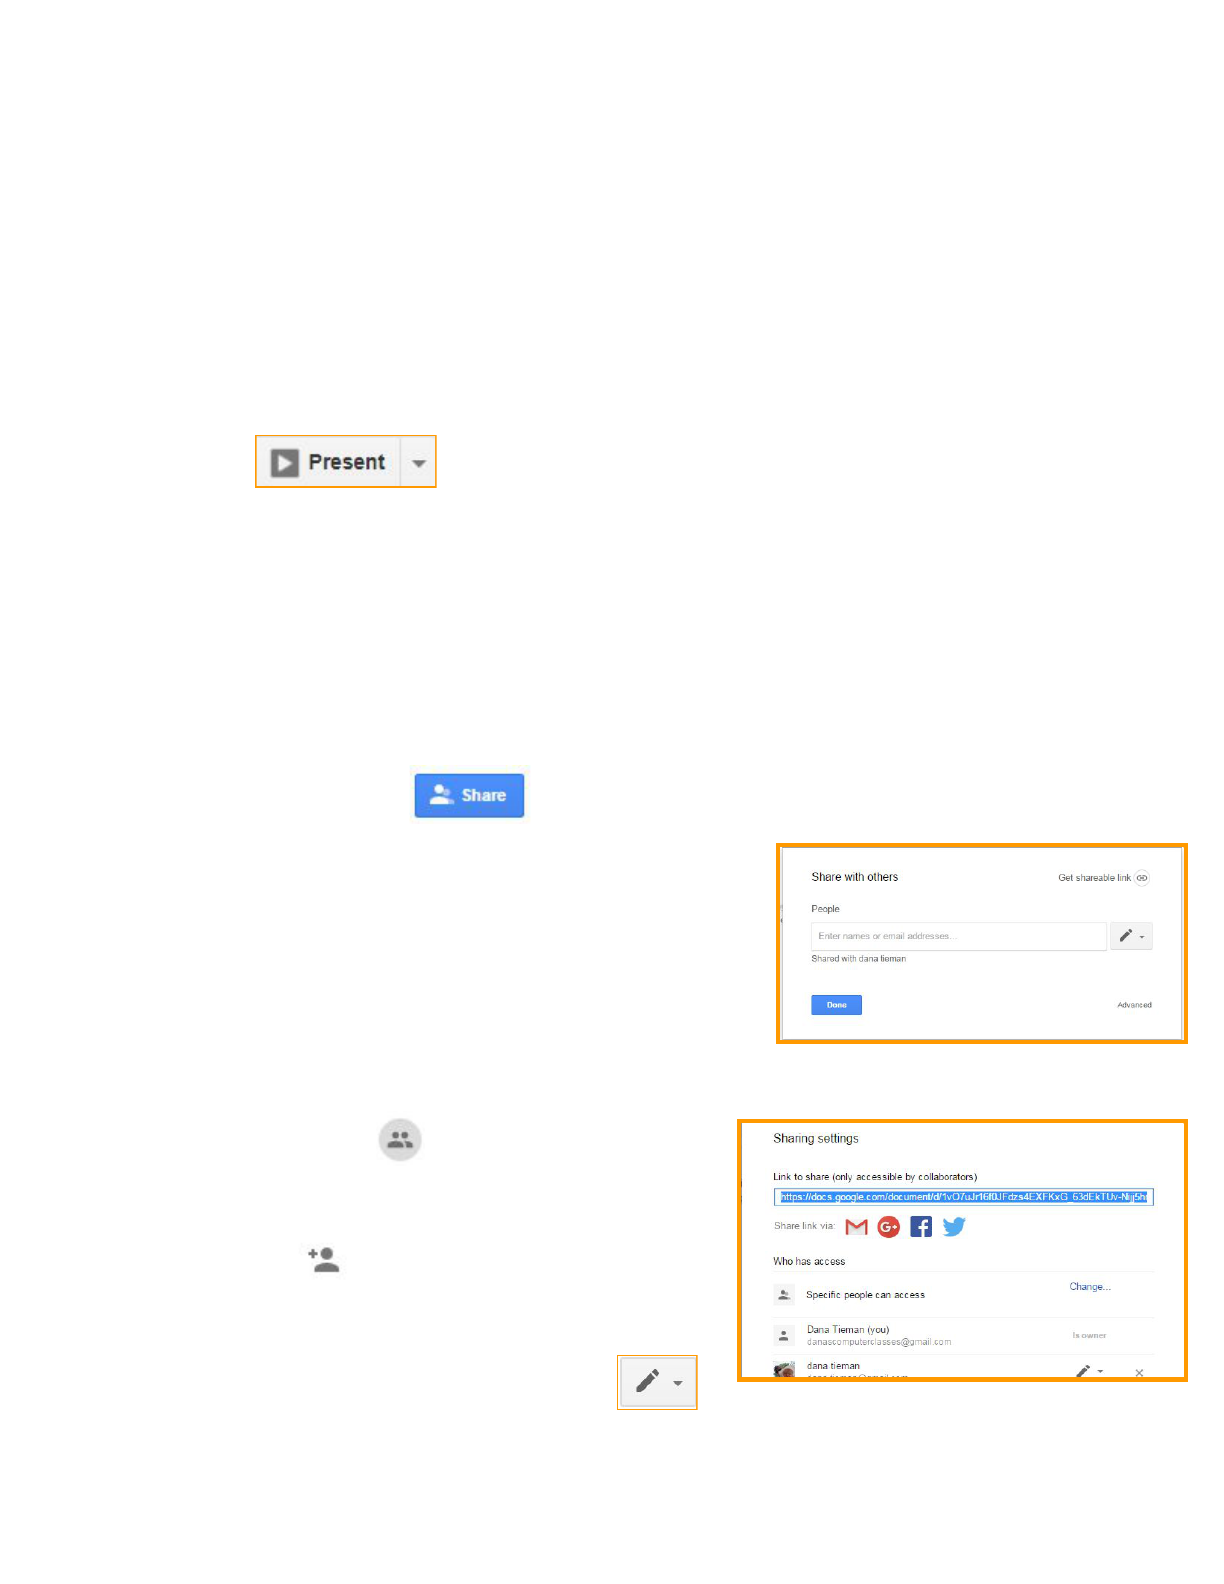
Sharing Files
Give other users access to view and edit files. Also allows real time
collaboration, meaning multiple users can edit the file simultaneously.
● To share a file, click the button in the top right
corner, or go to File → Share.
● Use the Share with Others window to type the contact
information or email of the person with whom you would like
to share.
○ NOTE: People do not need to use a Gmail address, but
their own email must be registered with Gmail in order
to view or edit Google Drive files.
● Use the Pencil pulldown to change permissions. Users can
Organize, Add, View
, or
Edit
the file. Then click Done.
● To confirm that the file has been shared, look for this icon
on the file list screen
● To Change or Remove Permissions
○ Click once on the file or folder, then click the Share
icon . You should see a list of people with
whom you have shared the document. Click once
on a name.
○ To change permissions, click the Pencil
○ To remove sharing permissions completely, click the X.
4
Wheaton Public Library - Google Slides
● Adding Comments - To create a comment, click the icon in the Toolbar. Anyone with access to the
document can see the Comment. Others can also comment. Click the Resolve button when you’re
finished with the conversation.
○ Click the Comments button in the top, right corner to see a list of all
comments in the presentation.
Creating a New Slide
● Click the New Slide Icon
○ Clicking directly on the plus sign (+) inserts the same layout as the previous slide
(with the exception of the title slide)
○ Click the arrow the the right of the plus sign to choose between 11 different layouts.
● Or, go to Slide → New Slide
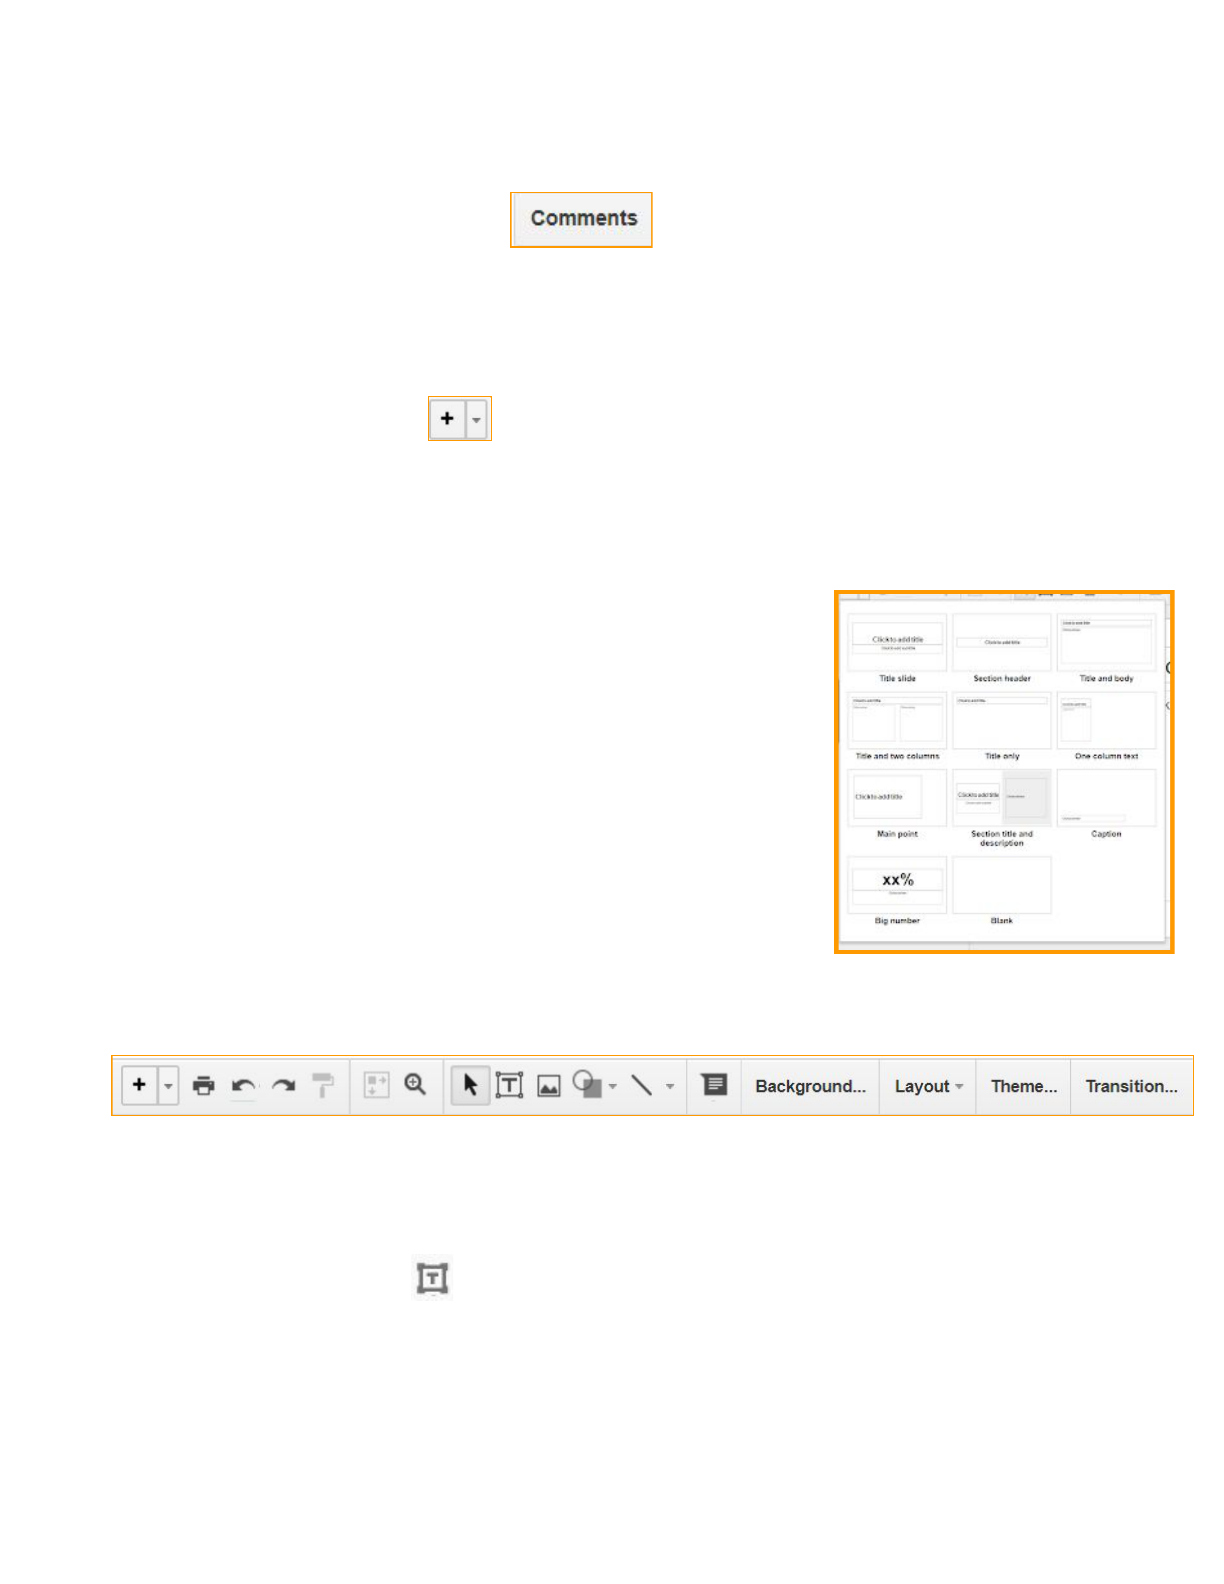
Slide Layout
Select a slide layout based on the type of information you will be
placing on the slide. Slide layouts are designed with a combination of
placeholders for text and images.
●
Title Slide
is the default first slide
●
Title and Body
is the default second slide
● You may select the layout when creating a New Slide by
clicking the arrow to the right of the New Slide button
● To change the layout of an existing slide:
○ Use the toolbar → Layout
○ Or, go to Slide → Apply Layout
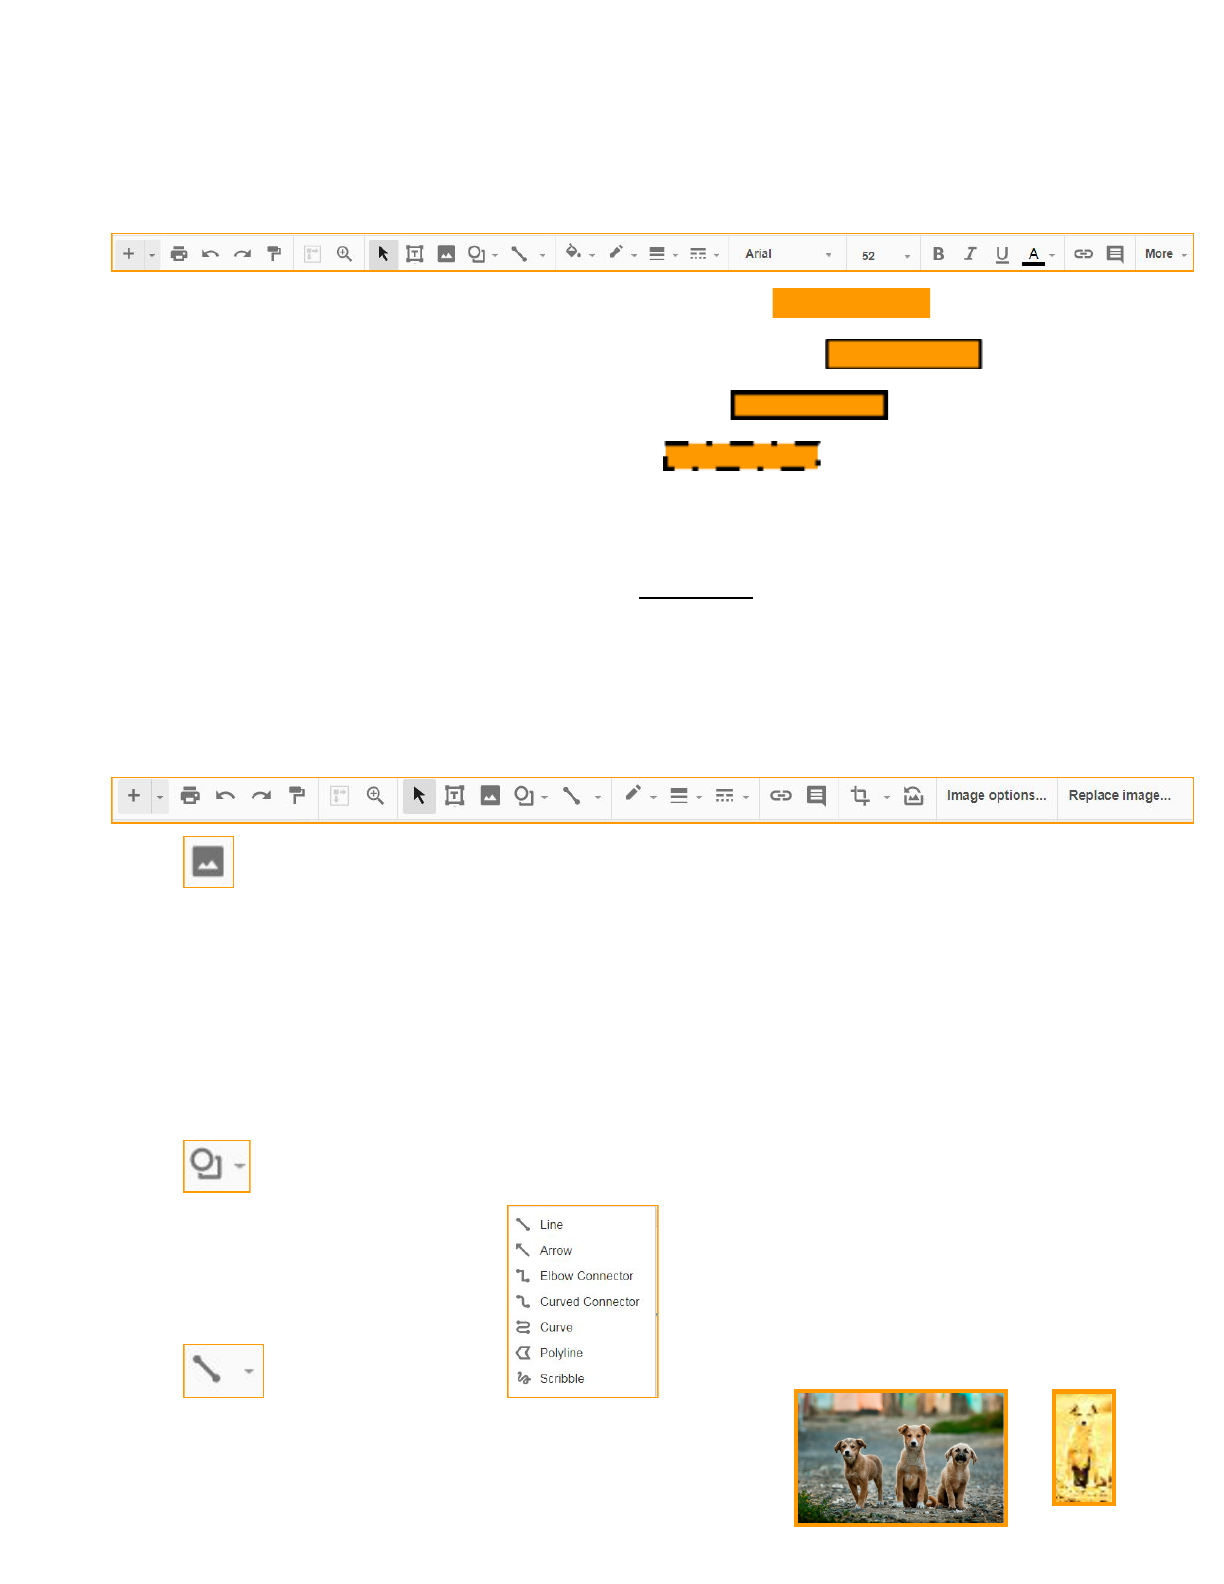
Slides Toolbar
Inserting and Formatting Text Boxes
Inserting a Text Box
● Use the text box icon to create text boxes on your slide.
● Click once on the text box icon in the toolbar. Then click and drag to insert to draw the size
you need.
● Or, go to Insert → Text Box
5
Wheaton Public Library - Google Slides
Formatting a Text Box
● Click once on the text box. The icons on the toolbar should change to this:
● Fill Color - Changes the Background color of the text box
● Border Color - Changes the color of the outline of the text box
● Border Weight - changes the thickness of the outline
● Border Dash - changes the style of the outline
● Font - select the Font face (Arial, Times, Quicksand, etc.)
● Size - When using presentation software, make sure your text is readable by an audience.
Size 16 is usually the smallest readable size.
● Emphasis - Makes the text Bold,
Italicized,
or Underlined.
● Text Color - Change the color of the letters and numbers.
● For more formatting options (such as spacing, alignment, or border decorations), go to the
Format menu.
Inserting and Formatting Objects
● Image - Places a picture into the presentation
■
Upload
- uses an image from the hard drive of your machine. If you have
scanned photos or
■
Take a Snapshot
- Uses the camera on your computer to take a photo.
■
By URL
- type in a web address to access an image.
■
Your Albums
- Accesses Google Plus or the Photos folder
■
Google Drive
- inserts images stored in Google Drive
■
Search
- Access Google, Life, or Stock Photos for royalty free images
○
● Shape - choose from Shapes, arrows, callouts or equations
● Line - choose between:
● Formatting Objects
○ Crop - removes unwanted parts of an object.
6
Wheaton Public Library - Google Slides
○ Image Options
■ Recolor - makes the image one color.
■ Transparency
■ Brightness
■ Contrast
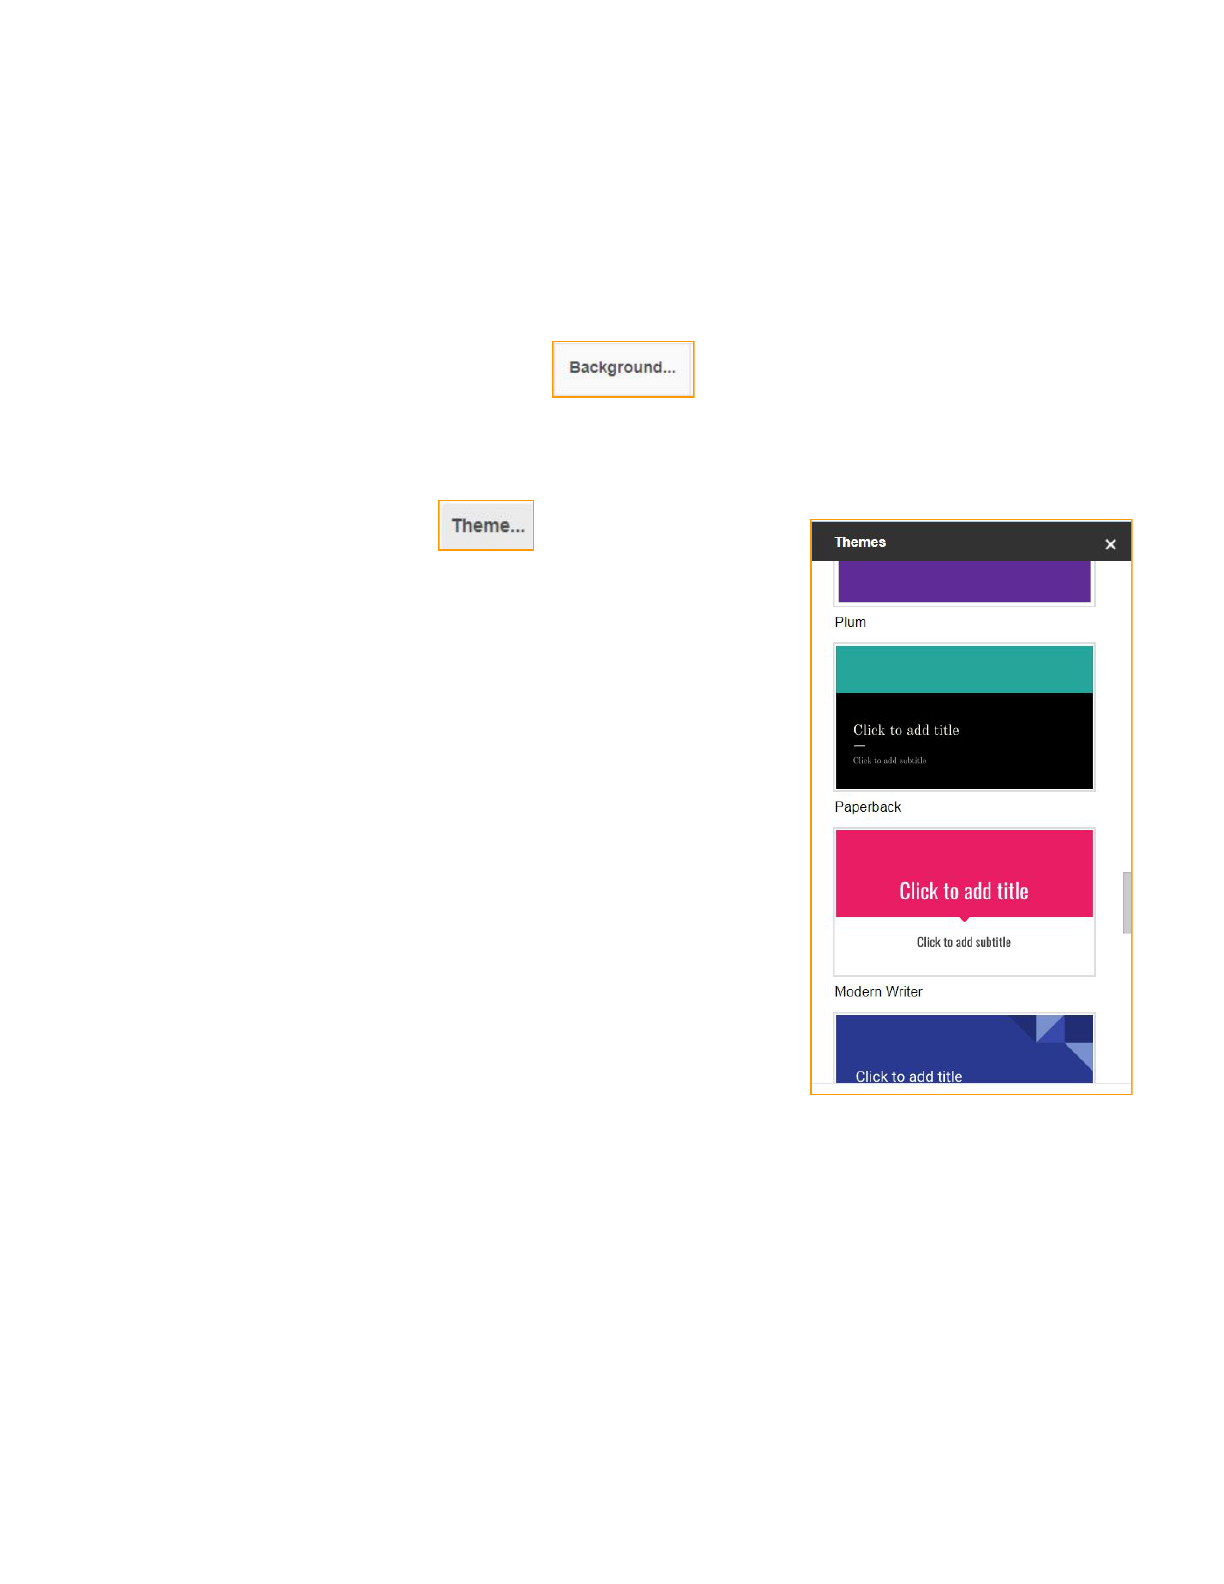
Formatting Slides
● Background - Click the background button in the toolbar, or go to Slide →
Change Background
○ Select a solid color or a gradient
○ Or, choose an image for the background
● Theme - Click the theme button in the toolbar, or
go to Slide → Change Theme
○ A theme affects all aspects of your presentation,
from the font, to the layout, to the background color
or image. A theme is a quick, effective way to add
some visual interest.
○ You can also import a theme from another Slides
presentation, or upload one from your computer.
7
Wheaton Public Library - Google Slides
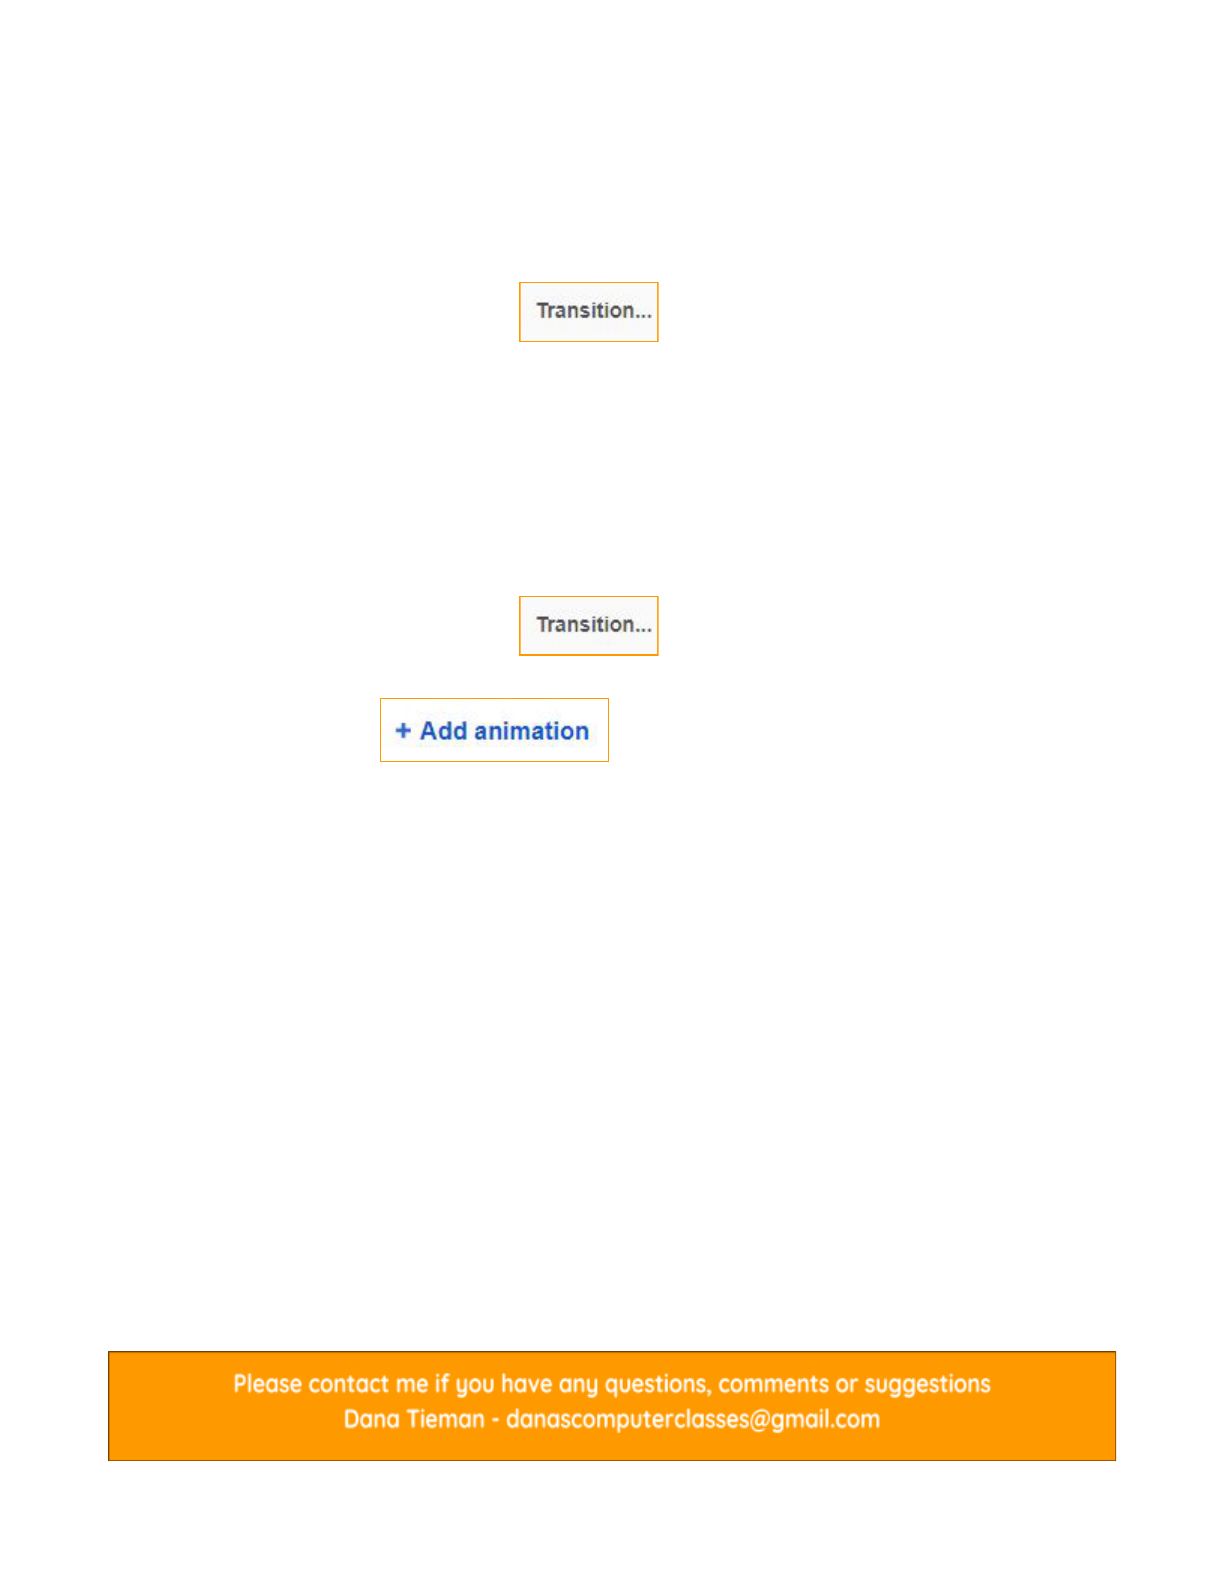
Transitions and Animations
Transition
● A transition is an effect that appears when you move from one slide to another slide.
○ Click the transition button in the toolbar.
○ Use the pulldown menu on the right side of the screen to select a transition.
■ Transitions may be selected for each individual slide, or
■ Use the Apply to All Slides button for a universal transition.
■ Select Slow, Medium, or Fast transition speed (default is Fast)
Animation
● An animation is an effect that appears between bullet points on an individual slide
○ Click the transition button in the toolbar
■ Select the text box you would like to animate
■ Click from the menu on the right side of the screen.
■ Use the pulldown menu to select from the list of animations.
■ Choose the way the animation advances
■ Click the By Paragraph checkbox to animate individual bullet points
8
